|
Installing the RAM Modules
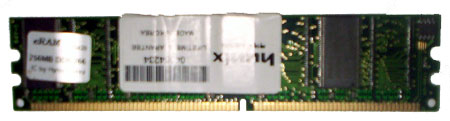
This is the main primary memory inside your PC and you must have enough to handle the software applications gobbling up more and yet more these days. In this walkthrough we sample a 256 MB DDR RAM module running at 266 MHz.
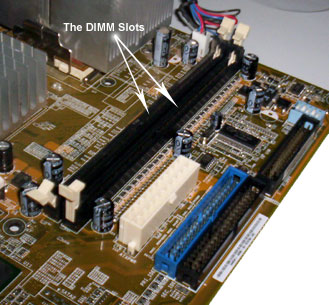
The modules are designed (keyed) such that they fit into the DIMM slots on the motherboard only one way. Motherboards will have two or more of these DIMM slots and usually numbered (DIMM1, DIMM2, etc.) With modern motherboards, it should not matter which slot you use, though if they are numbered in the manual or on the board, it is always a good idea to go with slot one first.
Hold the RAM module next to the slot so that the indentation(s) on the RAM line up with the bumps in the DIMM slot.
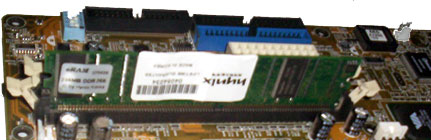
Once you are certain of the orientation of the RAM modules, open the levers at the two ends of a DIMM slot wide and push the RAM module straight down firmly into the slot until both levers snap closed on either side. This may require some force.
Do not exert too much force. You might damage your RAM or the motherboard. You can feel it if it is moving inside correctly. If it does not seem to move in with a moderate amount of force, remove the module and re-insert it, assuring that it is exactly aligned with the keyed points in the DIMM slot. Installed properly, the levers on the sides of the DIMM slots will be completely closed and locked into small cutouts on the outer edges of the RAM module. |