Ensure that the motherboard mounting area in the computer case is free of obstructions and that all necessary risers have been screwed into the right holes.
If your motherboard came with its own I/O shield, remove the one that came with the computer case - on some cases you need to really bang them out.
Lower the board into the case assuring that the I/O ports on it are correctly aligned with the I/O port shield on the case. Screw the motherboard onto the risers. Some forms of risers will not require screws to be used. You can figure it out.
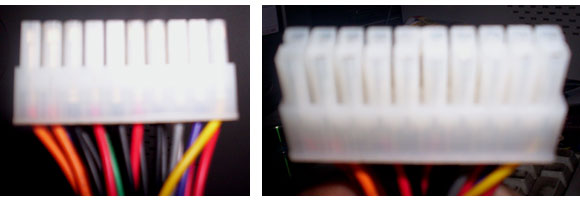
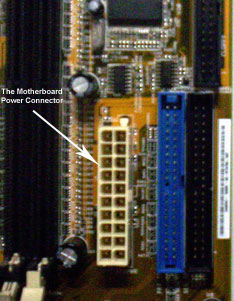
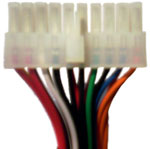
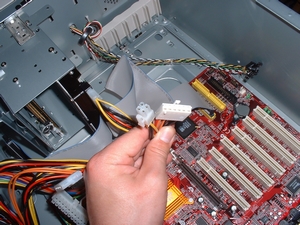
| Powering up the board - Once the board has been securely attached, plug in the 20-pin main ATX power connector coming out from your SMPS. The connector is keyed so it will go in one way only. |
|


| If you are installing a Pentium 4 machine, you may be required to connect one or two extra power connectors also. Plug the 4-pin 12V auxiliary power, and 6-pin power connectors in also. Some motherboards may not require the 6-pin connector at all. Refer to your motherboard manual. |
|
Consult your motherboard manual for the correct locations of the 'front panel' power and reset button wires, the power and hard-drive LED wires and the speaker. Plug them in.
Safety
- When adding or removing devices to or from the motherboard, ensure that the power cables for the devices are unplugged before the signal cables are connected.
- Make sure that your power supply is set to the correct voltage in your area.


